

Use your own media storage
Keep your workspace's uploads in your own Cloudflare R2, Amazon S3, Backblaze B2 or other S3-compatible bucket.
Do you need this?
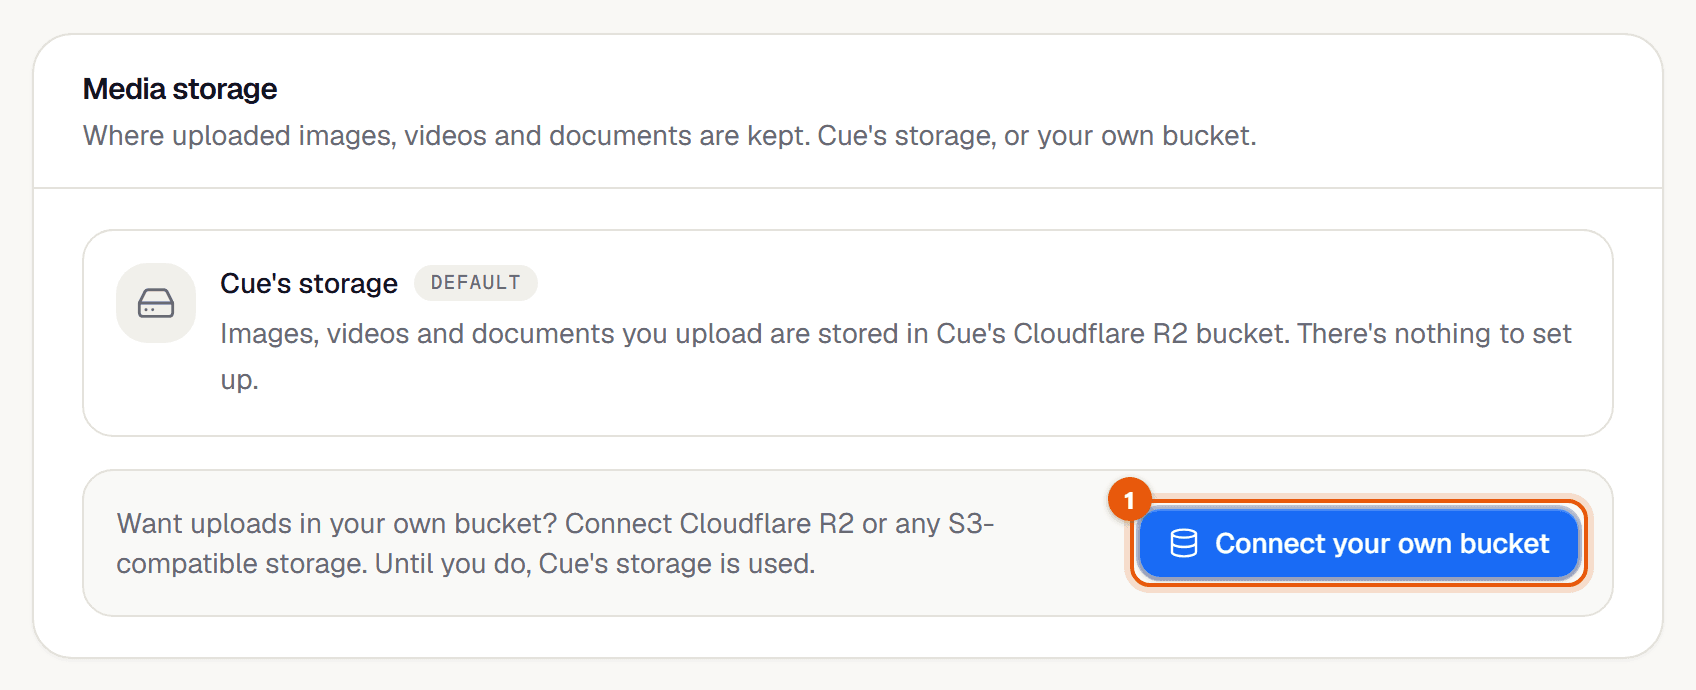
No. By default, uploads go to Cue's storage and there's nothing to set up. Use your own bucket if you want your files in your own account, or need more space than your plan includes. Only Admins can set this up.
Connect a bucket
Open Settings → Media storage and click Connect your own bucket.
Provider: choose Cloudflare R2 or S3-compatible (Amazon S3, Backblaze B2, DigitalOcean Spaces, Wasabi, Supabase Storage, MinIO or another).
Bucket and keys: fill in the bucket name, access keys and public URL. Under each field the wizard explains where to find that value for your provider.
Set the bucket's CORS policy. The wizard shows the exact policy (or command) to paste for your provider.
Test and save: click Test connection. When all checks pass, click Save and use.
What the test checks
| Check | If it fails |
|---|---|
| Write a file with these keys | The keys are wrong, or can't write to this bucket. Check the access key, secret and bucket name. |
| Read it back from the public URL | The bucket isn't public, or the public URL is wrong. |
| Upload straight from this browser | The CORS policy is missing or doesn't include Cue. Paste the policy the wizard shows. |
| Remove the test files | The keys can't delete. Allow delete for this bucket. |
Change or remove it
- Test again reruns the checks at any time.
- Edit changes the details. They're tested again before saving.
- Disconnect sends new uploads back to Cue's storage. Files already in your bucket stay there.
Related guides
Something here wrong or unclear? Email karan@trycue.space.